|
| Want these? Read this. |
This was (still is) part of a salad blog but several people reacted very positively to the chicken bit. It seems the land is full of poorly fried fillets and confused cooks so I've pulled this out for your amusement and erudition.
If I had any real commercial sense I'd call this 'how to cook the perfect chicken' or 'foolproof chicken, every time'. Sadly, I have all the business sense of a blue whale. But claiming 'perfection' is well dodgy anyway. And aren't we all tired of those 'lifestyle statements'? I am. I don't even use Instagram anymore. C'mon, it's just pictures! See. Blue whale.
Lots of people cook the bird really, really badly. You could staple a couple of fillets to your feet and do a five mile run and they'd probably survive. 'Mmmm, delicious' you say while spluttering sawdust and reaching for your wine. So often chicken breasts are over cooked to the point of desiccation. Even in the adverts; that turkey from Iceland: DRY. KFC: DRY. Sainsbury's Sunday roast: DRY. SeriousEats satirised it in a very funny article.
For some reason, alone amongst poultry, chicken has this deadly rep. I've seen quail and teal served near raw. Duck presented like chicken would be sent back by most. No one wants pink chicken but a bit of blush is fine. So long as the middle of the meat is 75°C it is safe. But the outside is much hotter so the trick is to take the meat just before it's fully cooked and allow the outside to cook the inside. That's what resting is all about. The insides will rise in temperature as the outside cools. 75°C is not that hot. Soup that is described as 'piping hot' is more like 90°C. There is a lot of unhelpful folklore and food fear around chicken; talk of clear juices and white flesh. It's all nonsense. For a good conversation starter try this link.
This is how I cook moist chicken fillets.
 |
| Get a griddle |
Use thigh fillets not breasts. I know breasts look all homogeneous and lack that off putting vein and sinew which can be seen in a thigh, but all that burns off anyway and the fat lubricate the meat of course. Breasts are lumps of tedious protein. Keep them for poaching. Thighs are juicier, richer in flavour and much more forgiving on a griddle. Thighs are much cheaper, normally around 60% the cost of breast.
Buy free range not battery. It is more expensive. There's a reason for that. Some of battery chicken is water. Yes, water is added in a process called tumbling. Battery birds have damn all flavour anyway and adding water dilutes it even more. I think meat should have a picture of the animal on the back of the pack. If people could see a bird in a battery cage, far fewer would buy the meat. I won't dwell on the conditions because it'll put you off your dinner.
 |
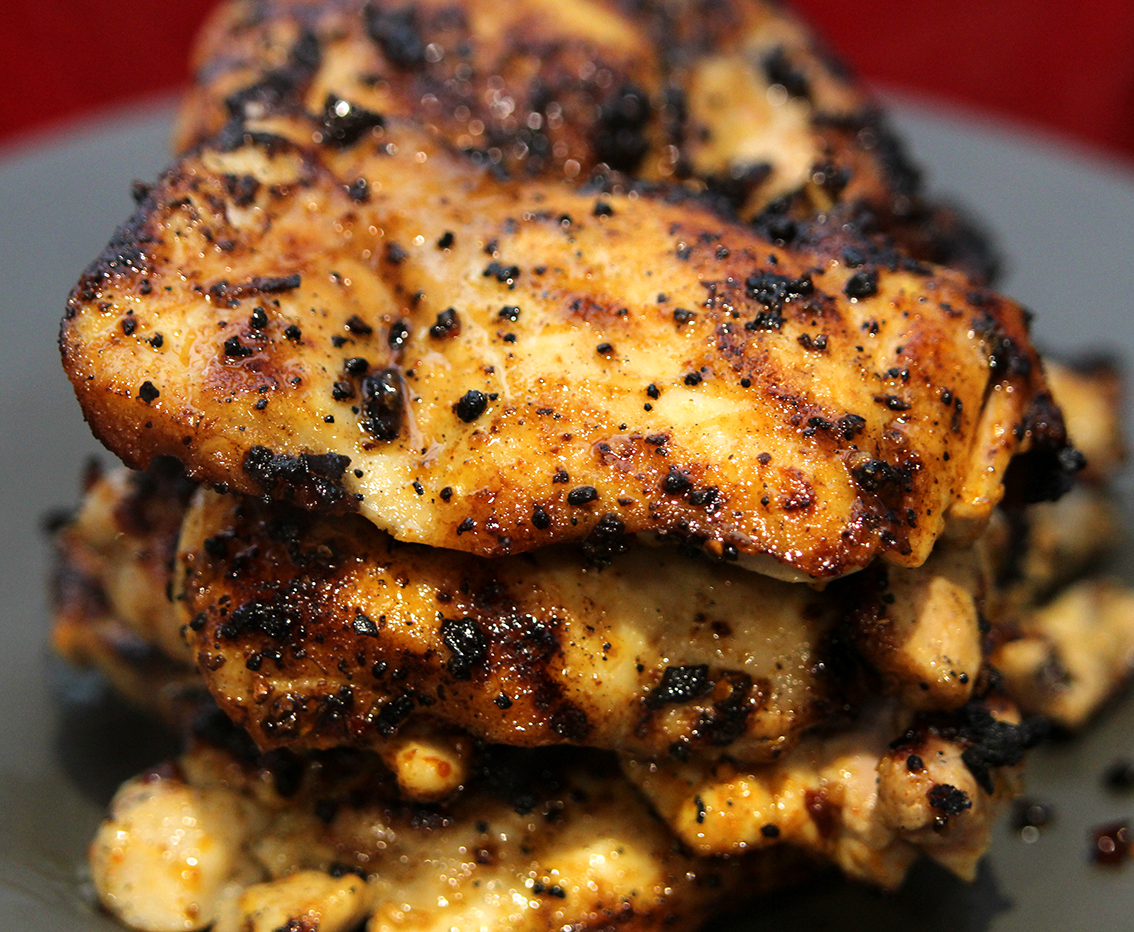
| Seasoned here with salt, pepper and smoked paprika, hence the colour. |
Flatten the meat between two sheets of baking paper. I use a rolling pin. Don't bash and mash the meat. We are not at home to Mr Splatter. Use controlled blows to even out the thickness. I usually season mine before doing this.

Use a griddle. No griddle? Buy a griddle. It will last a lifetime and you'll thank me every time you use it. A heavy pan if not. You want a very hot griddle. I mean, heat it dry for ten minutes on your biggest burner. As when searing all meat, colour = flavour. We all love that delicious sticky, deep, dark crust. We know that's where the taste is. Oil your meat not the griddle and you'll get less smoke. You're trying to cook the outside of the meat a lot while leaving the insides tender. You need heat. Hot heat.
Leave it alone! Don't move the meat. If you do, the crust will tear like paper and stick to the griddle. Wait for the top of the fillet to look cooked then flip, an action you need only do once.
Cook until moist not dry. You know the texture of raw meat? Yes you do, give the base of your thumb a little squeeze - that's raw meat. Chicken should be cooked until it's just firm. Open your hand fully and now squeeze the base of your thumbs again. Yeah, like that. Prod it with a tongs to find out. Firm flesh is cooked flesh; hard flesh is dry.
Rest the meat. Apart from mince, I can't think of a situation where this isn't true. Chicken should be rested. Cook until the fillets feel just firm then remove, cover with foil and leave to cook with residual heat. Don't cut immediately. Just like steak, a rested chicken fillet is juicier.